Using a 100 year old camera
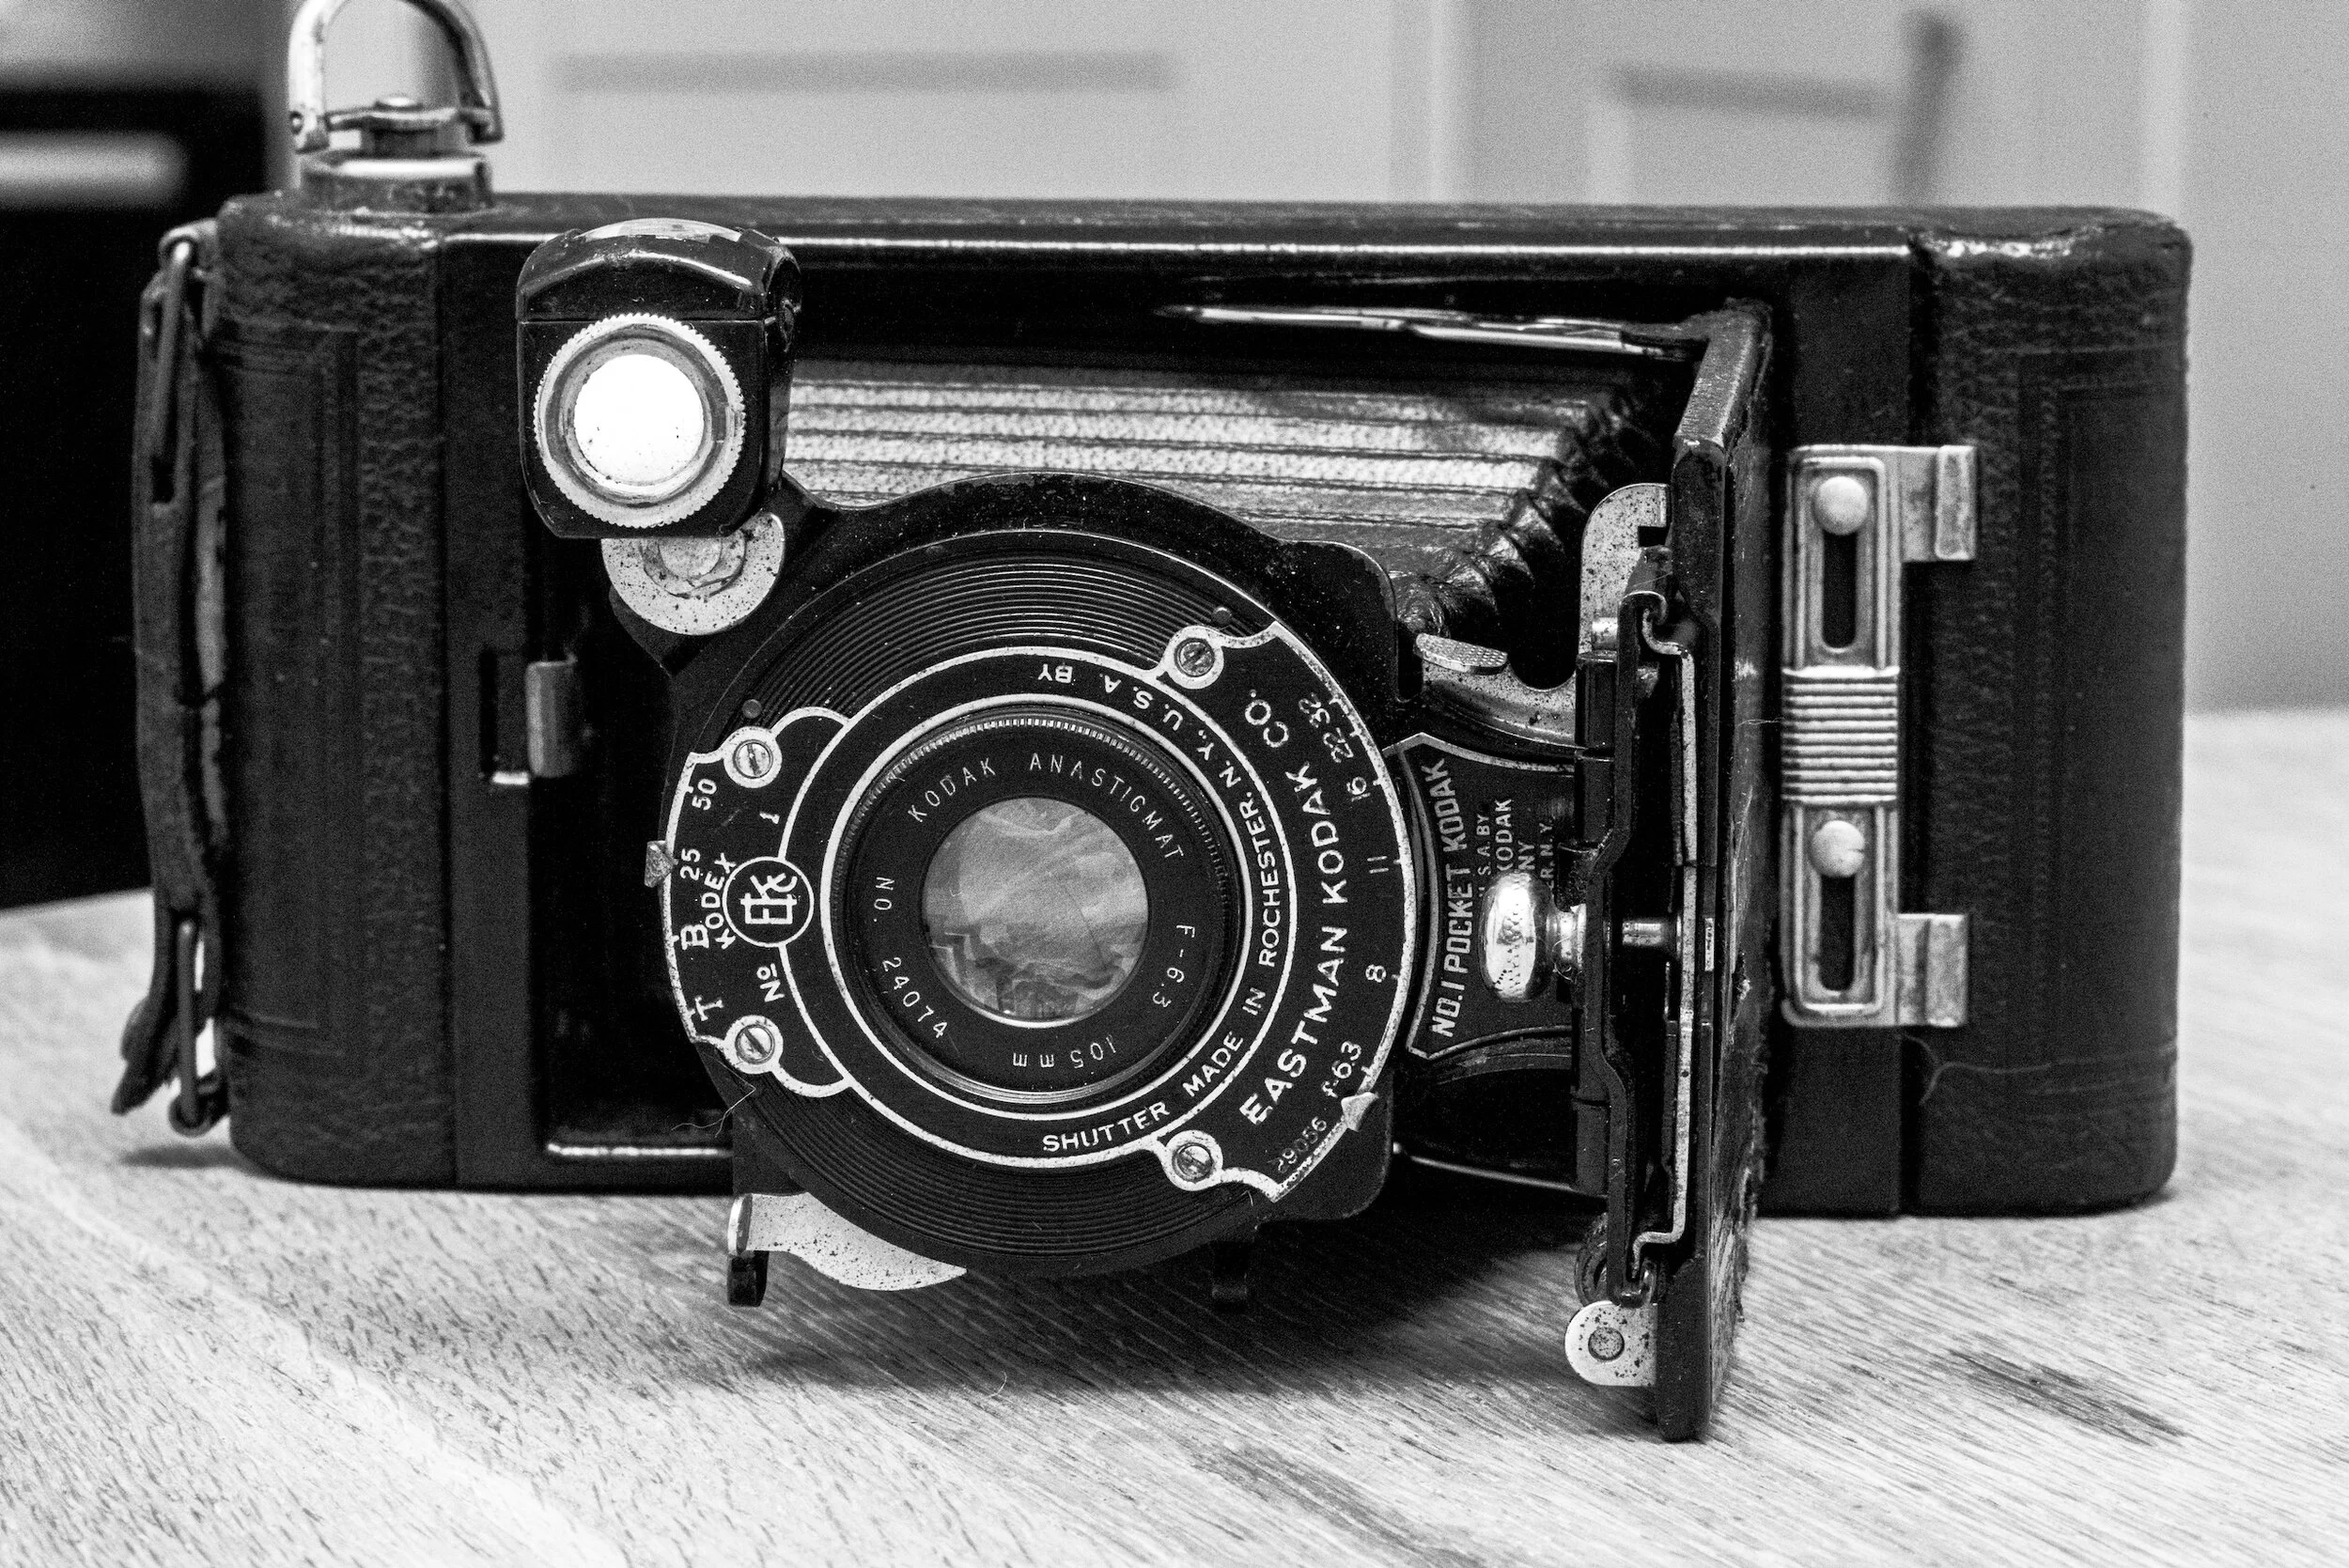
Being stuck indoors more than I would prefer recently has had a profound effect on the amount of time I've been able to dedicate to hobbies old and new (AKA buggering-around-in-the-garage). I recently passed my 30th birthday (groan), for which my partner very kindly bought me a near 100 year old Kodak No. 1 Pocket camera. I would have been very happy just having this photography relic as a decoration, but I have now managed to get some photos out of it! There were a few versions of these old folding cameras from Kodak, but here is the version that I have from somewhere around the 1920s.
It was great trying to work out how this camera worked without consulting the internet. However, original manuals can be found for most models online. Here is a one for a similar model from cameramanuals.org.
There is an optical viewfinder (which you can see in the top left corner of the picture above), which can be orientated for either landscape or portrait shots. By holding the camera at waist height, you look down and frame your shots as you like (though in mirror image).

Spending a few hours in Adobe Illustrator is really therapeutic!
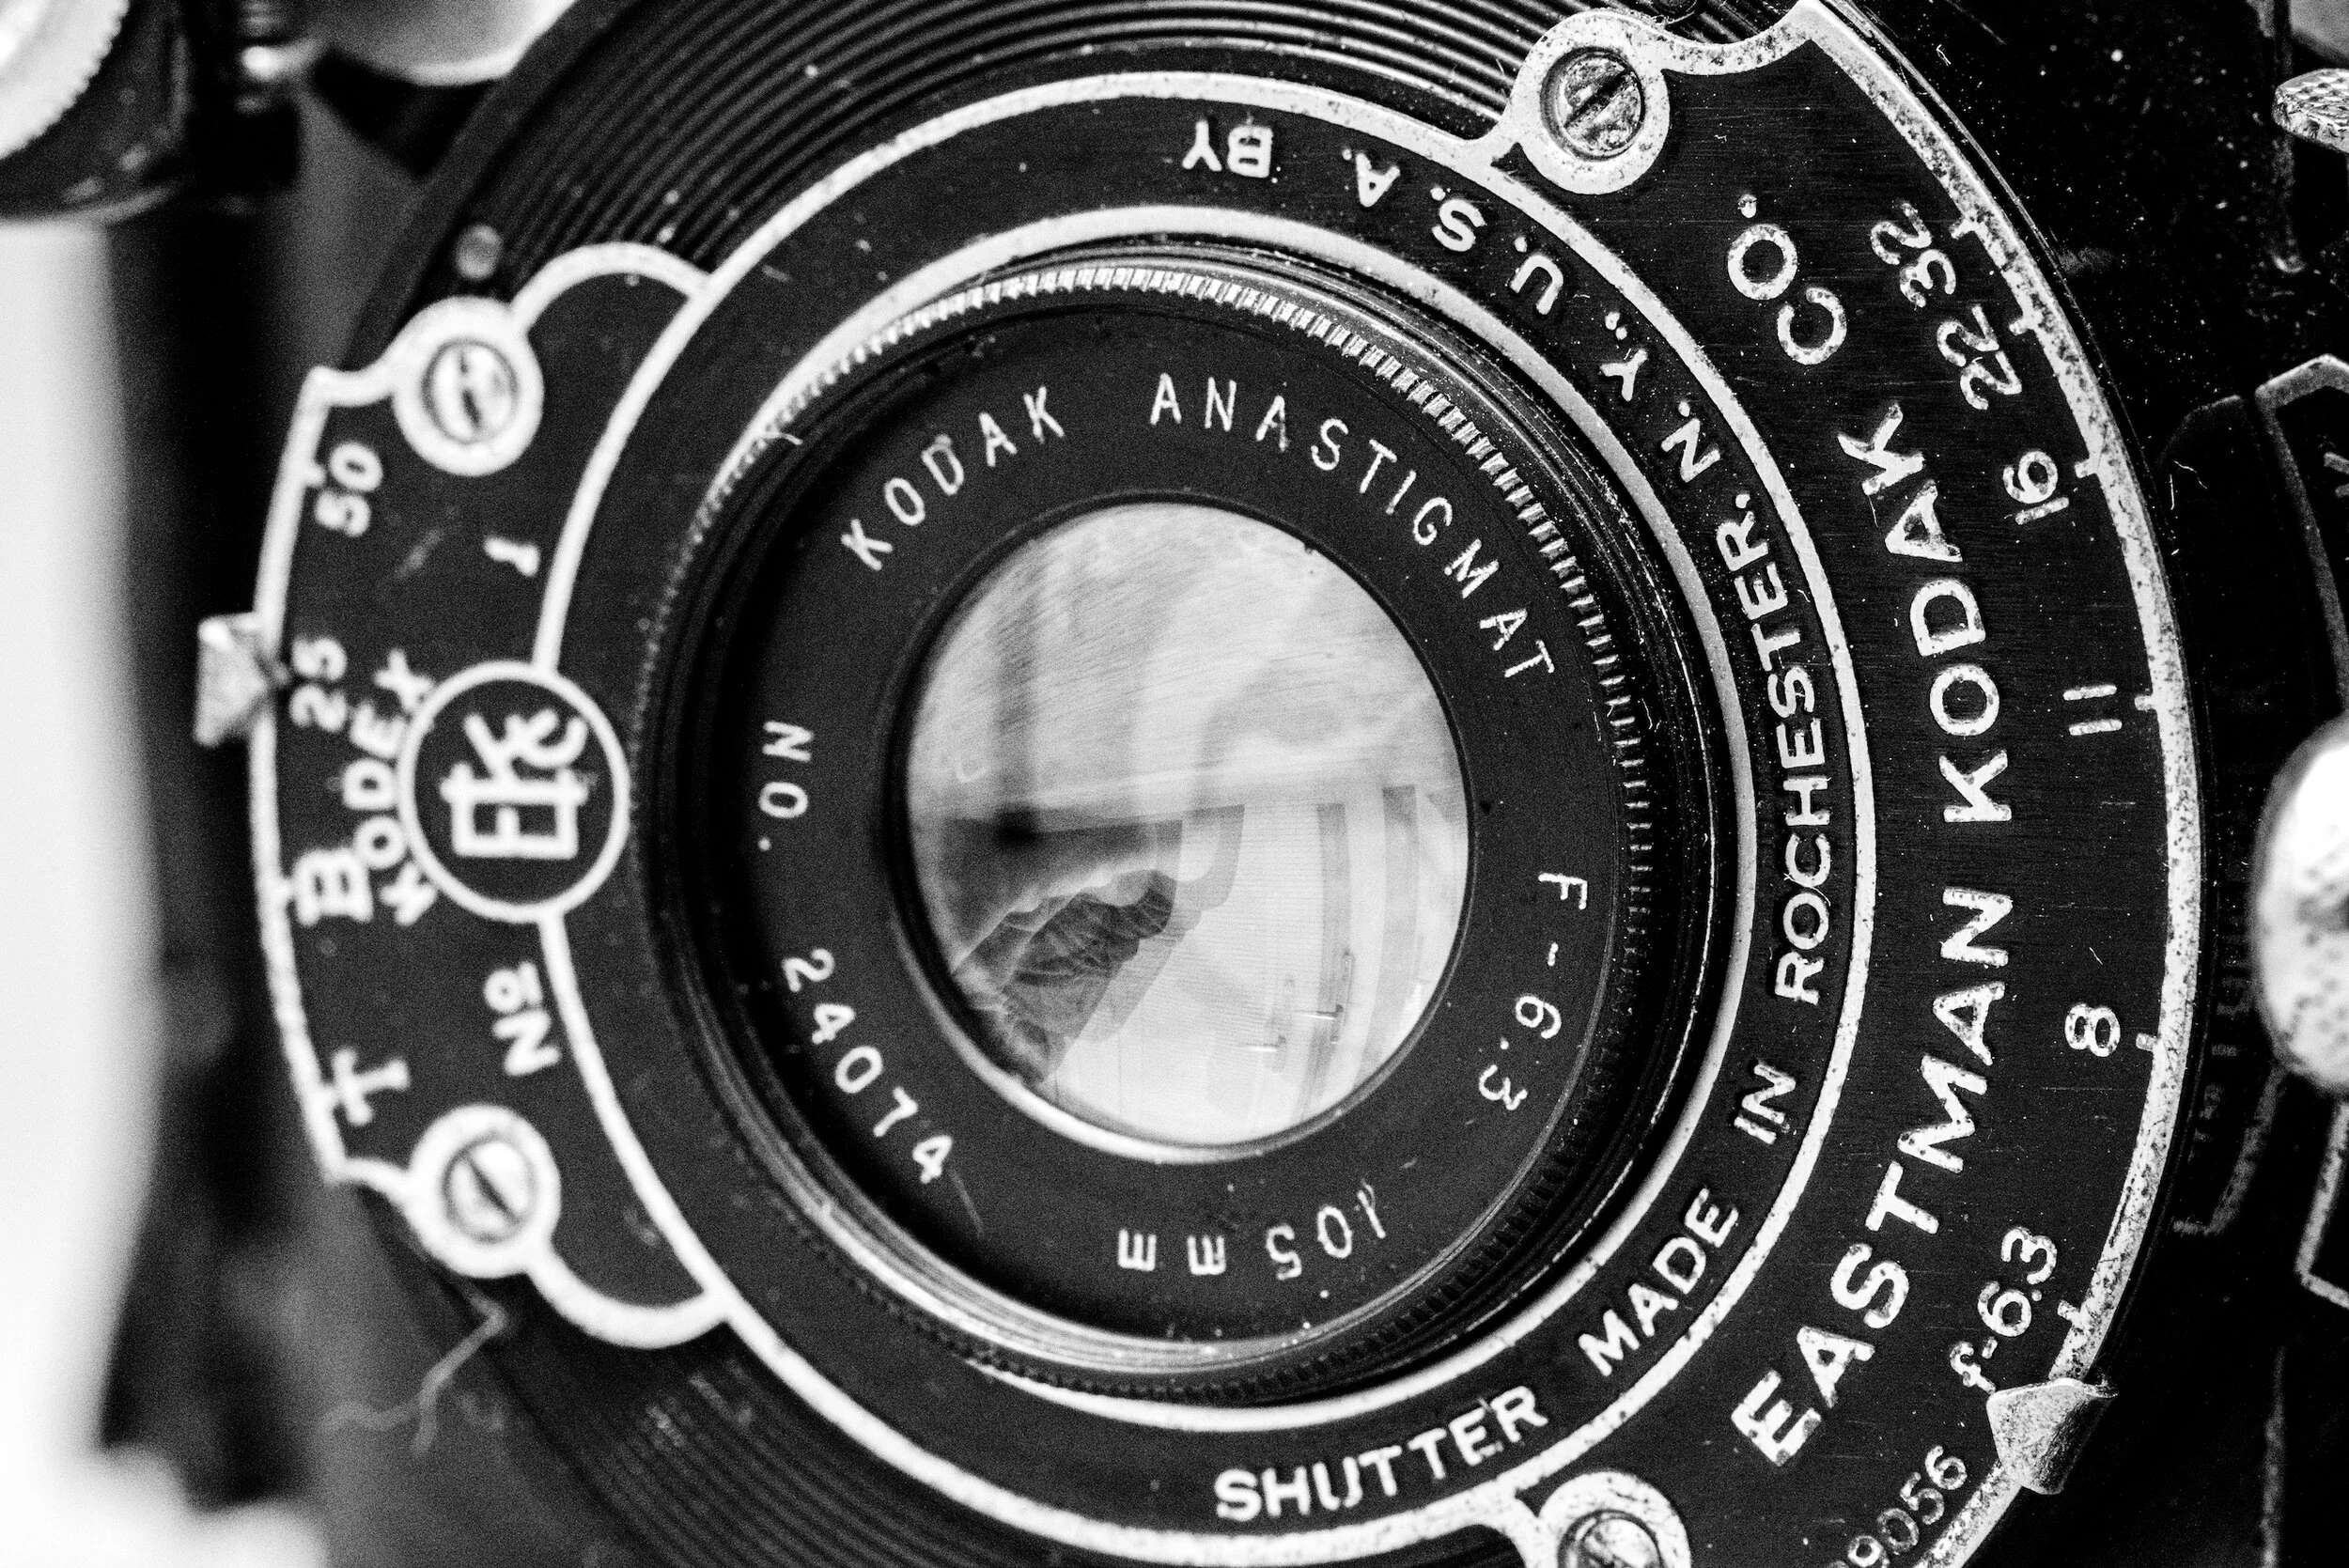
The exposure is controlled exactly like you would with a modern DSLR by changing the aperture, shutter-speed and film sensitivity (ISO). Using a modern Nikon DSLR has certainly made me take for granted the speed at which it operates. This Kodak can manage a blistering shutter speed of just 1/50 of a second at best! Whereas I wouldn't usually like to shoot below 1/125s when handheld really. There are four settings for shutter speed on this Kodak. The first two are 1/50s and 1/25s and perform as you might expect. The next is 'T' (for toggle?) that keeps the shutter open after the lever is pressed and shuts when pressed again. The final is 'B' (for bulb) which works much like 'T', except that the shutter only remains open whilst the shutter lever is being pressed down. Aperture ranges from f/6.3 - 32, and is all mechanical. Luckily, all this was in working order.
I have to confess that to determine the correct settings for the environment I made use of the light meter in my modern DSLR. Though this might seem like cheating, my defence is that when you have only 8 exposures on a £6 film you don't take any chances!
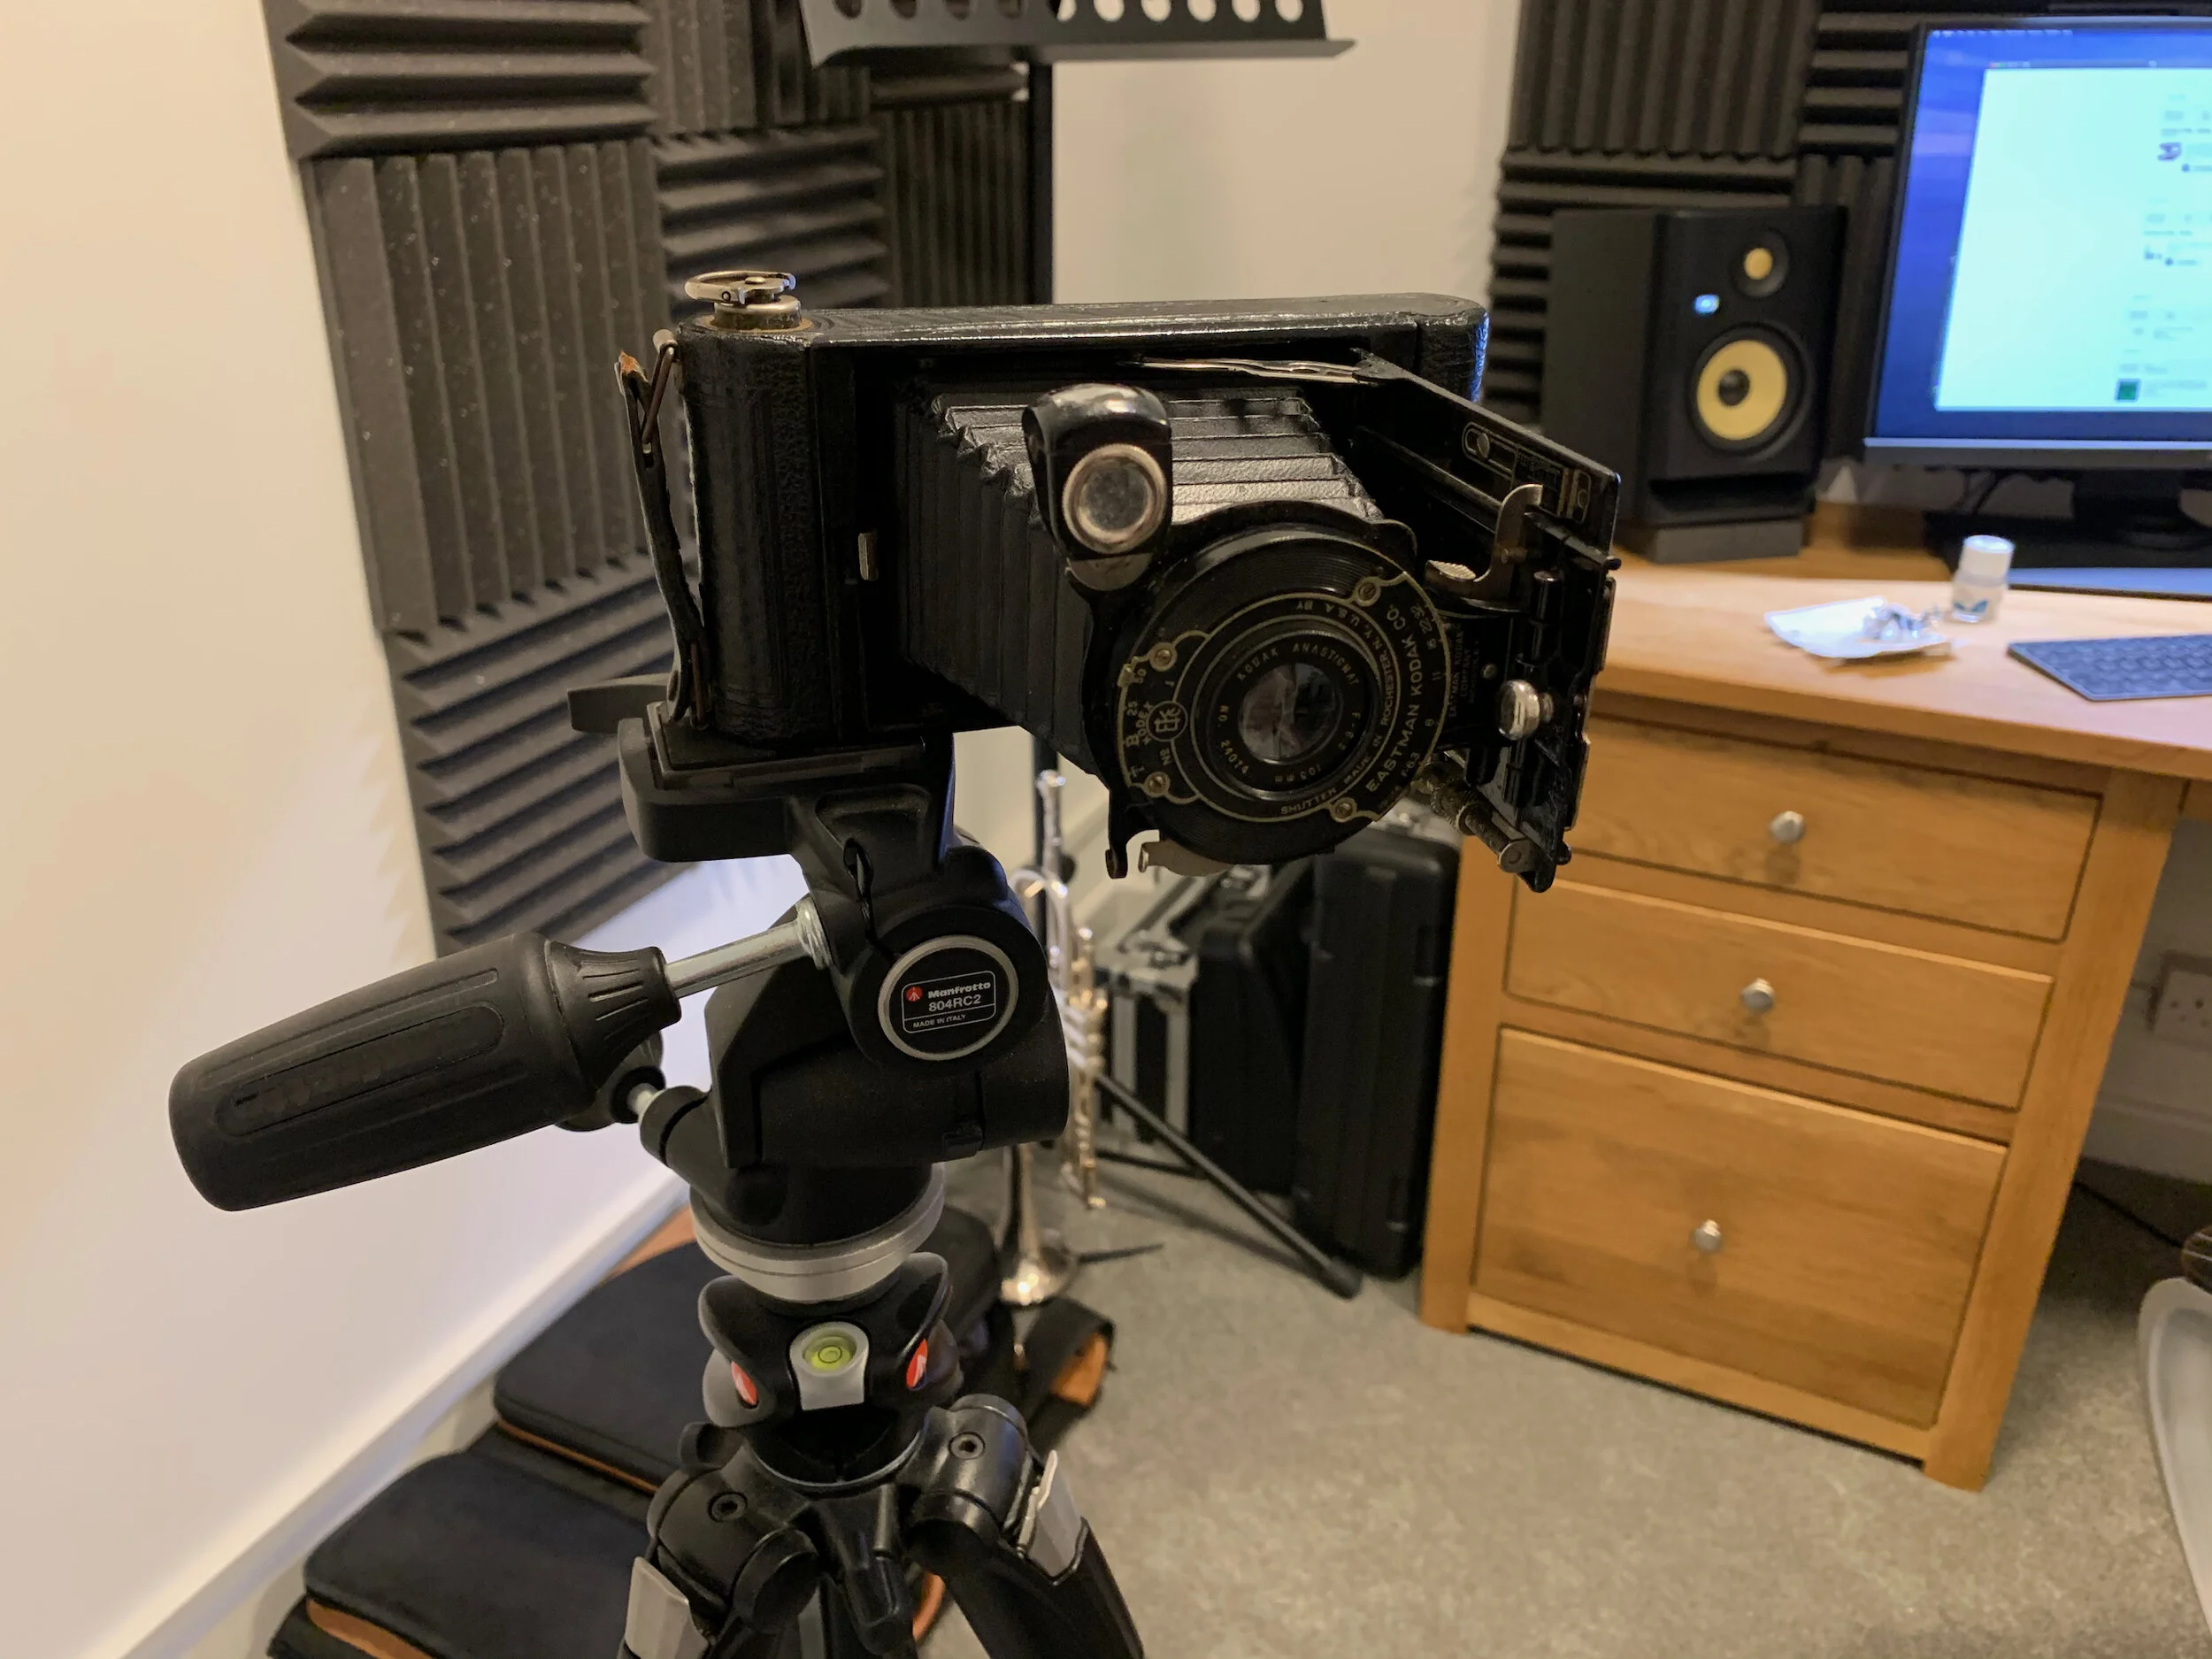
Thankfully, it seems that standard tripod fittings have not changed over the last century and mounting the camera was a breeze on modern equipment (1/4-20 UNC). Using those low shutter speeds wasn't a problem for some shots.
These cameras used 120 roll film, which you can still get hold of today. In fact, this particular model used an autographic film where a small window was opened on the back of the camera and each exposure could be annotated directly by writing onto the film with a small stylus. This ~50mm long stylus was originally supplied with the camera, but sadly seem to have been widely lost (including mine) so are rarely found when purchasing these cameras nowadays. From what I can tell I don't think autographic film is available today, so I went for some Ilford ISO125 FP4+ 120 roll film (black and white) to get the ball rolling. This was fine for outdoor work, but you'd probably want a higher ISO film for indoors.
I have never used a film camera before, but I'm happy to say that installing the film wasn't too bad. With the bellows mechanism removed from the front, the 120 roll film spool is placed in one side of the camera and fed onto the receiving spool on the opposite side. I've read that other medium format cameras can be a pain when trying to tell how far along the film should be wound between shots, but in this case the number markings on the film backing paper happen to perfectly align with the red viewing window on the back of the camera. Happy days. This film has a whopping 8 exposures (in 9x6). Makes you really consider the content of your shots.
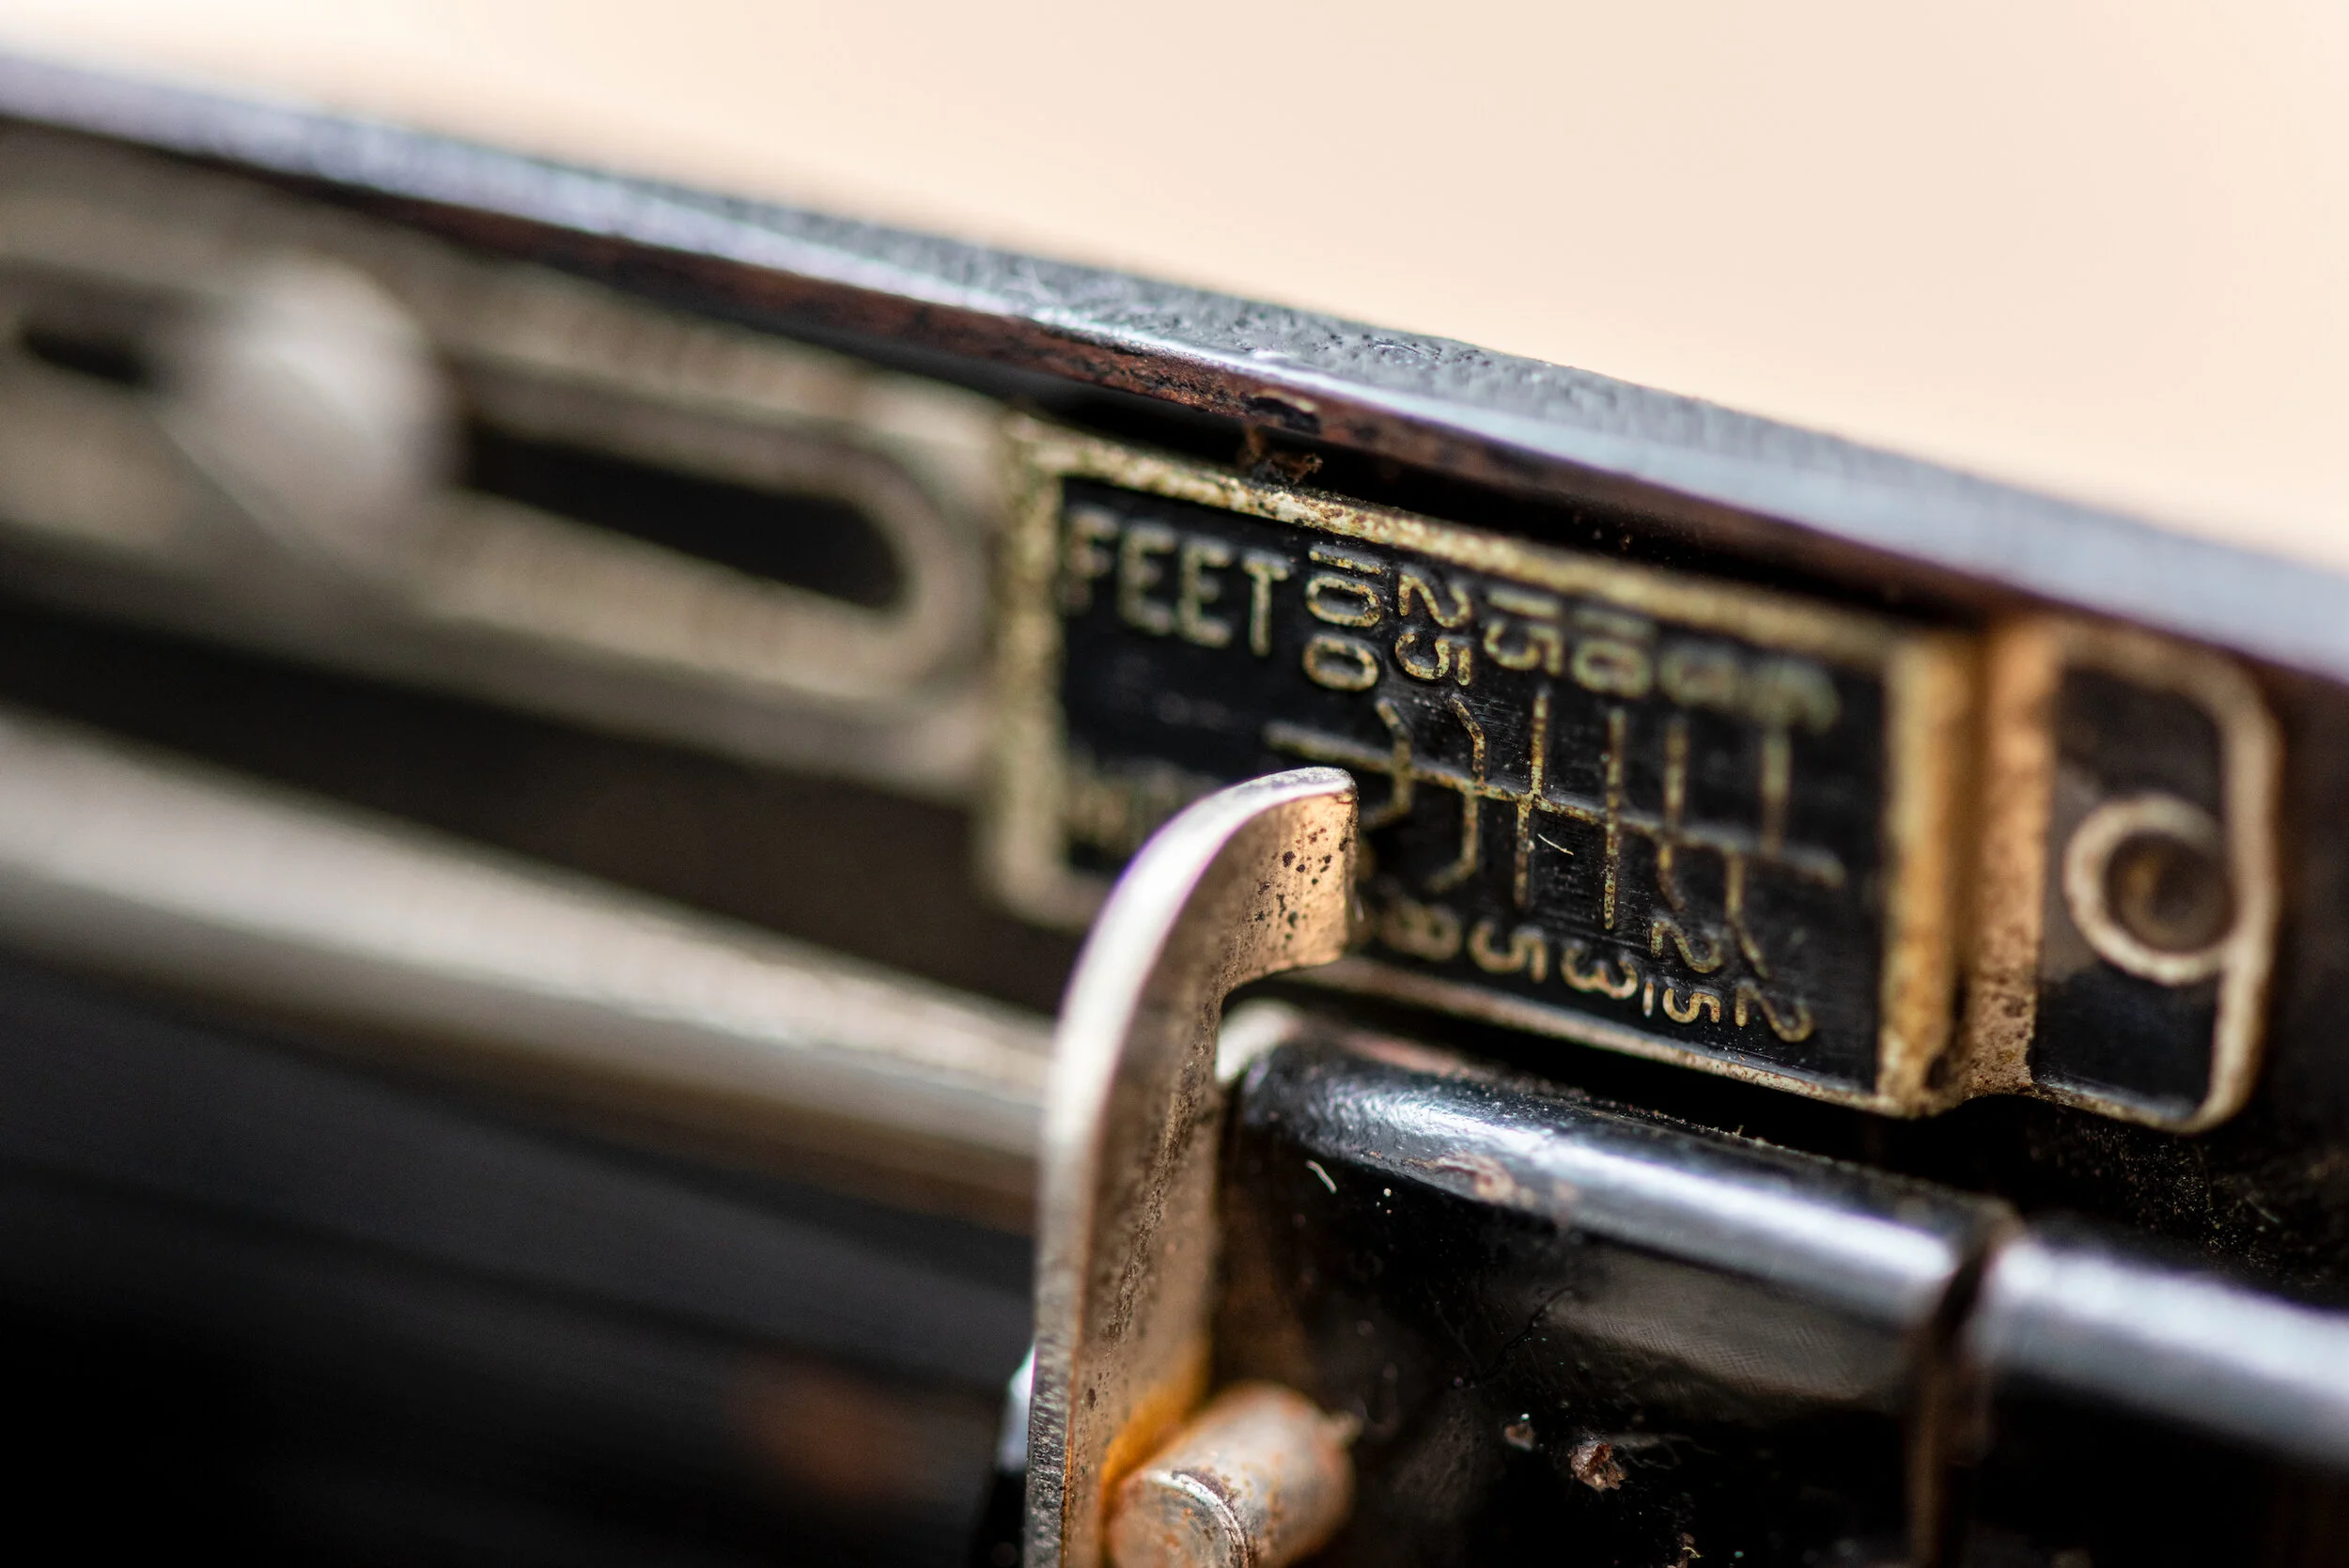
The final thing to worry about is the focus. This is adjusted using a small screw mechanism that makes small adjustments to the distance between the film and the lens. A handy meter tells you how far away your subject should be.
With the test shooting done I had to tackle the next problem, getting the film developed. Whilst there are places than will do this for you, it can be expensive, and in the current UK lockdown this wasn't an ideal way to go about it. One amazon order later, I managed to get my hands on the chemicals and some basic gear to be able to develop this film myself. All-in-all, this wasn't too complex of a process and my first-time results are passable.
I won't go into the detail (you can find this elsewhere online), but you'll be needing a developing tank, thermometer, measuring cylinders, the chemicals (developer, stop bath and fixer), and somewhere to hang up the film to dry. I used the shower.
Getting the photos into the PC was another problem, and one I've not solved properly quite yet. For the moment I placed the dried negative on a lightbox (iPad with a white screen!) and took at photo with the DSLR… This is not ideal; you can see the pixels of the iPad screen showing through to the photo. It needs some diffusion; a problem for another time. Finally, I inverted the colours in photoshop, desaturated and we have the following results (no further editing).
Not exactly the most fascinating content, but this is the best I could come up with given the circumstances! Shot at f/6.3, 1/50s, ISO 125 film, handheld in overcast light.
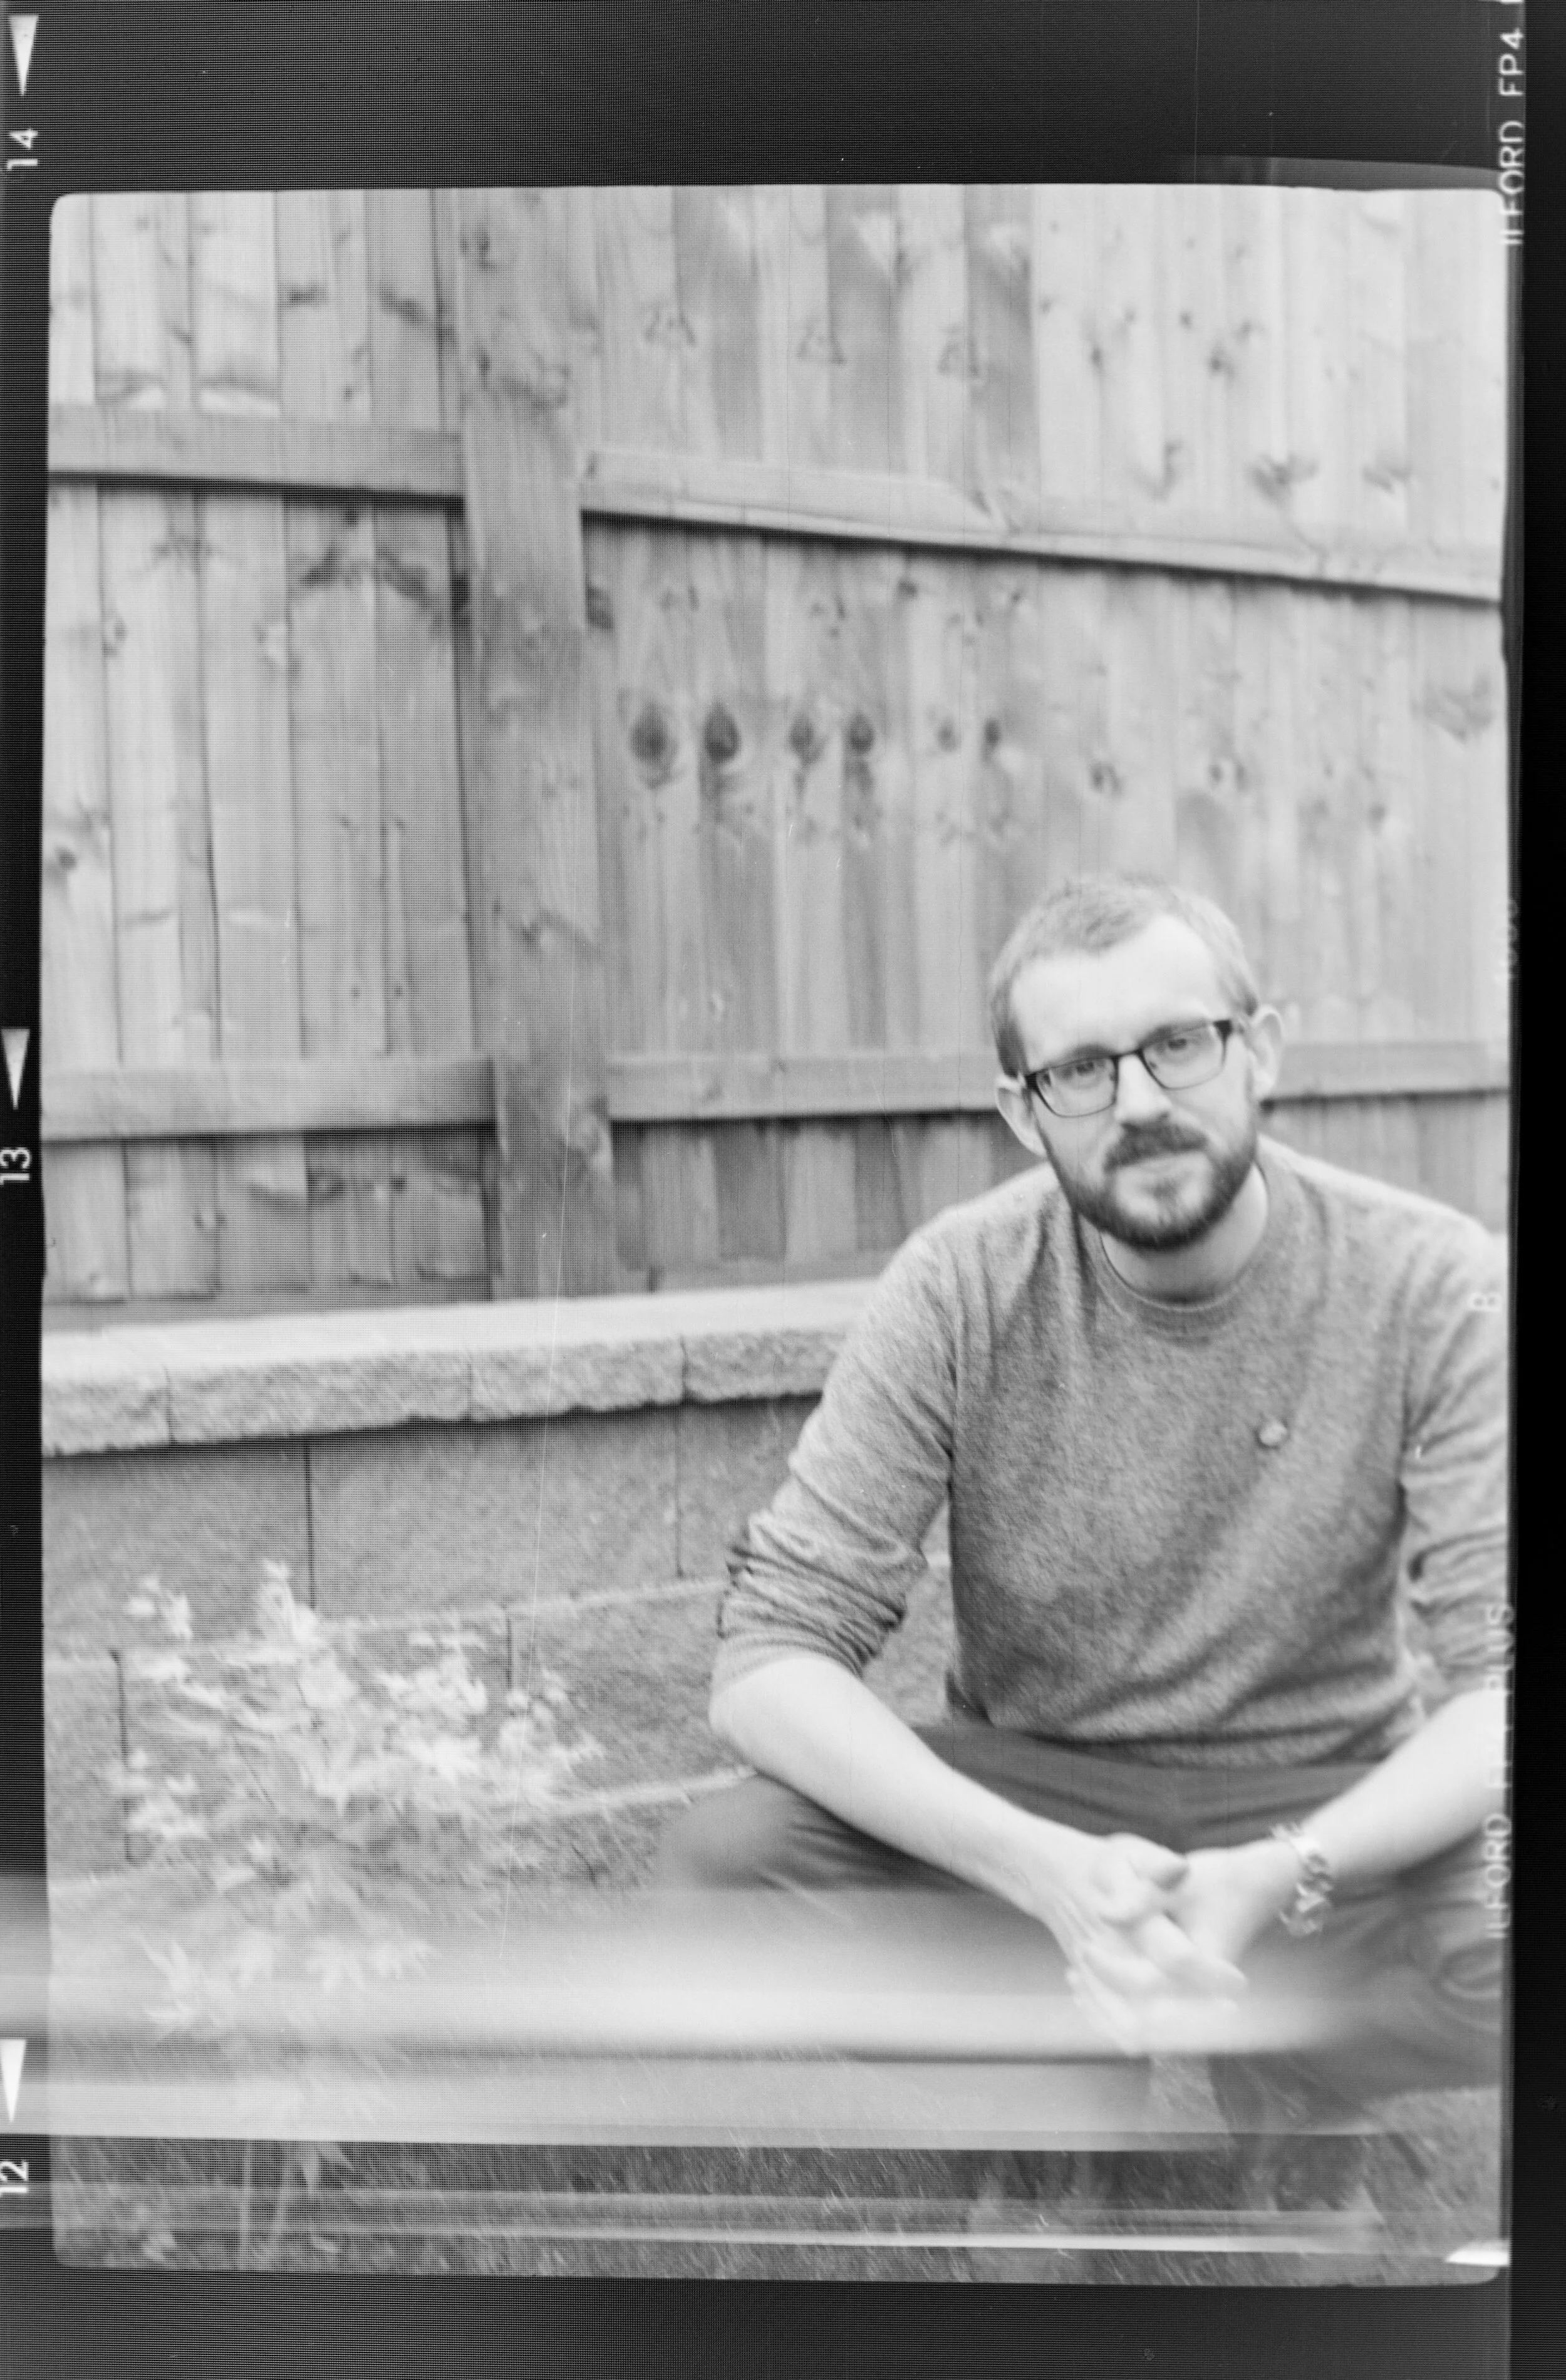
Crouched by the acer tree planted on my 30th birthday :). Shot by Jess. Shot at f/6.3, 1/50s, ISO 125 film, handheld in overcast light.
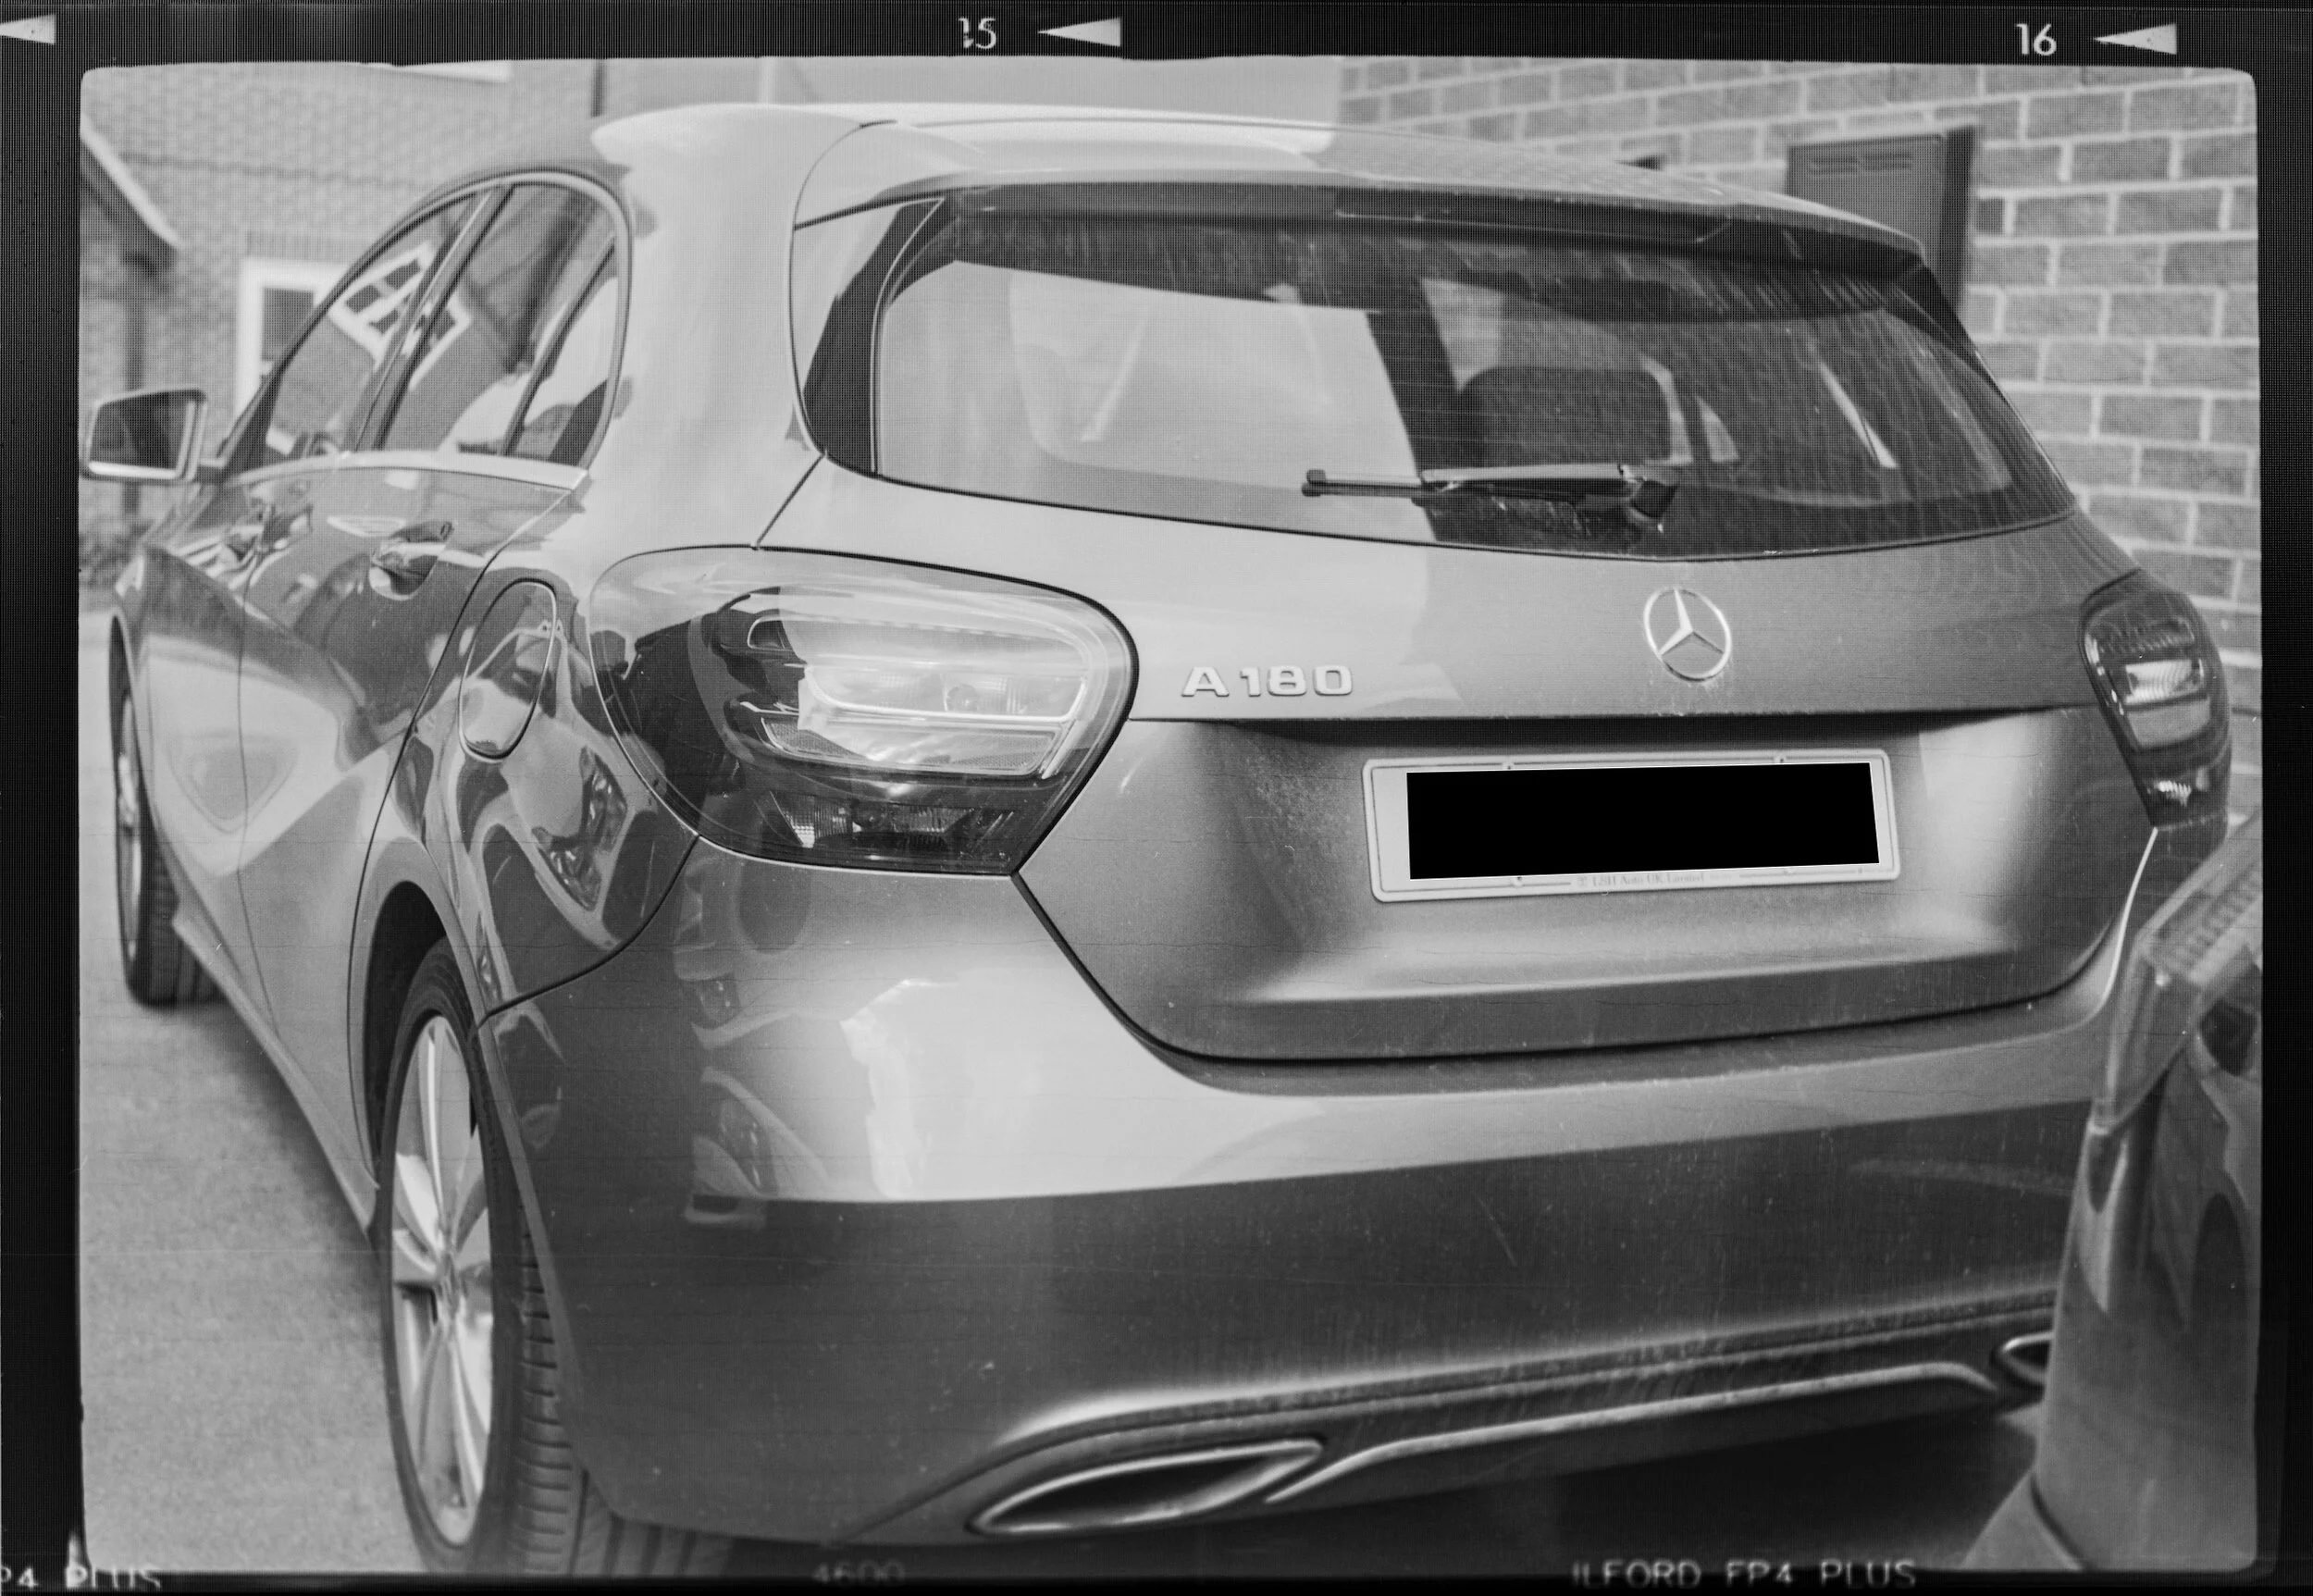
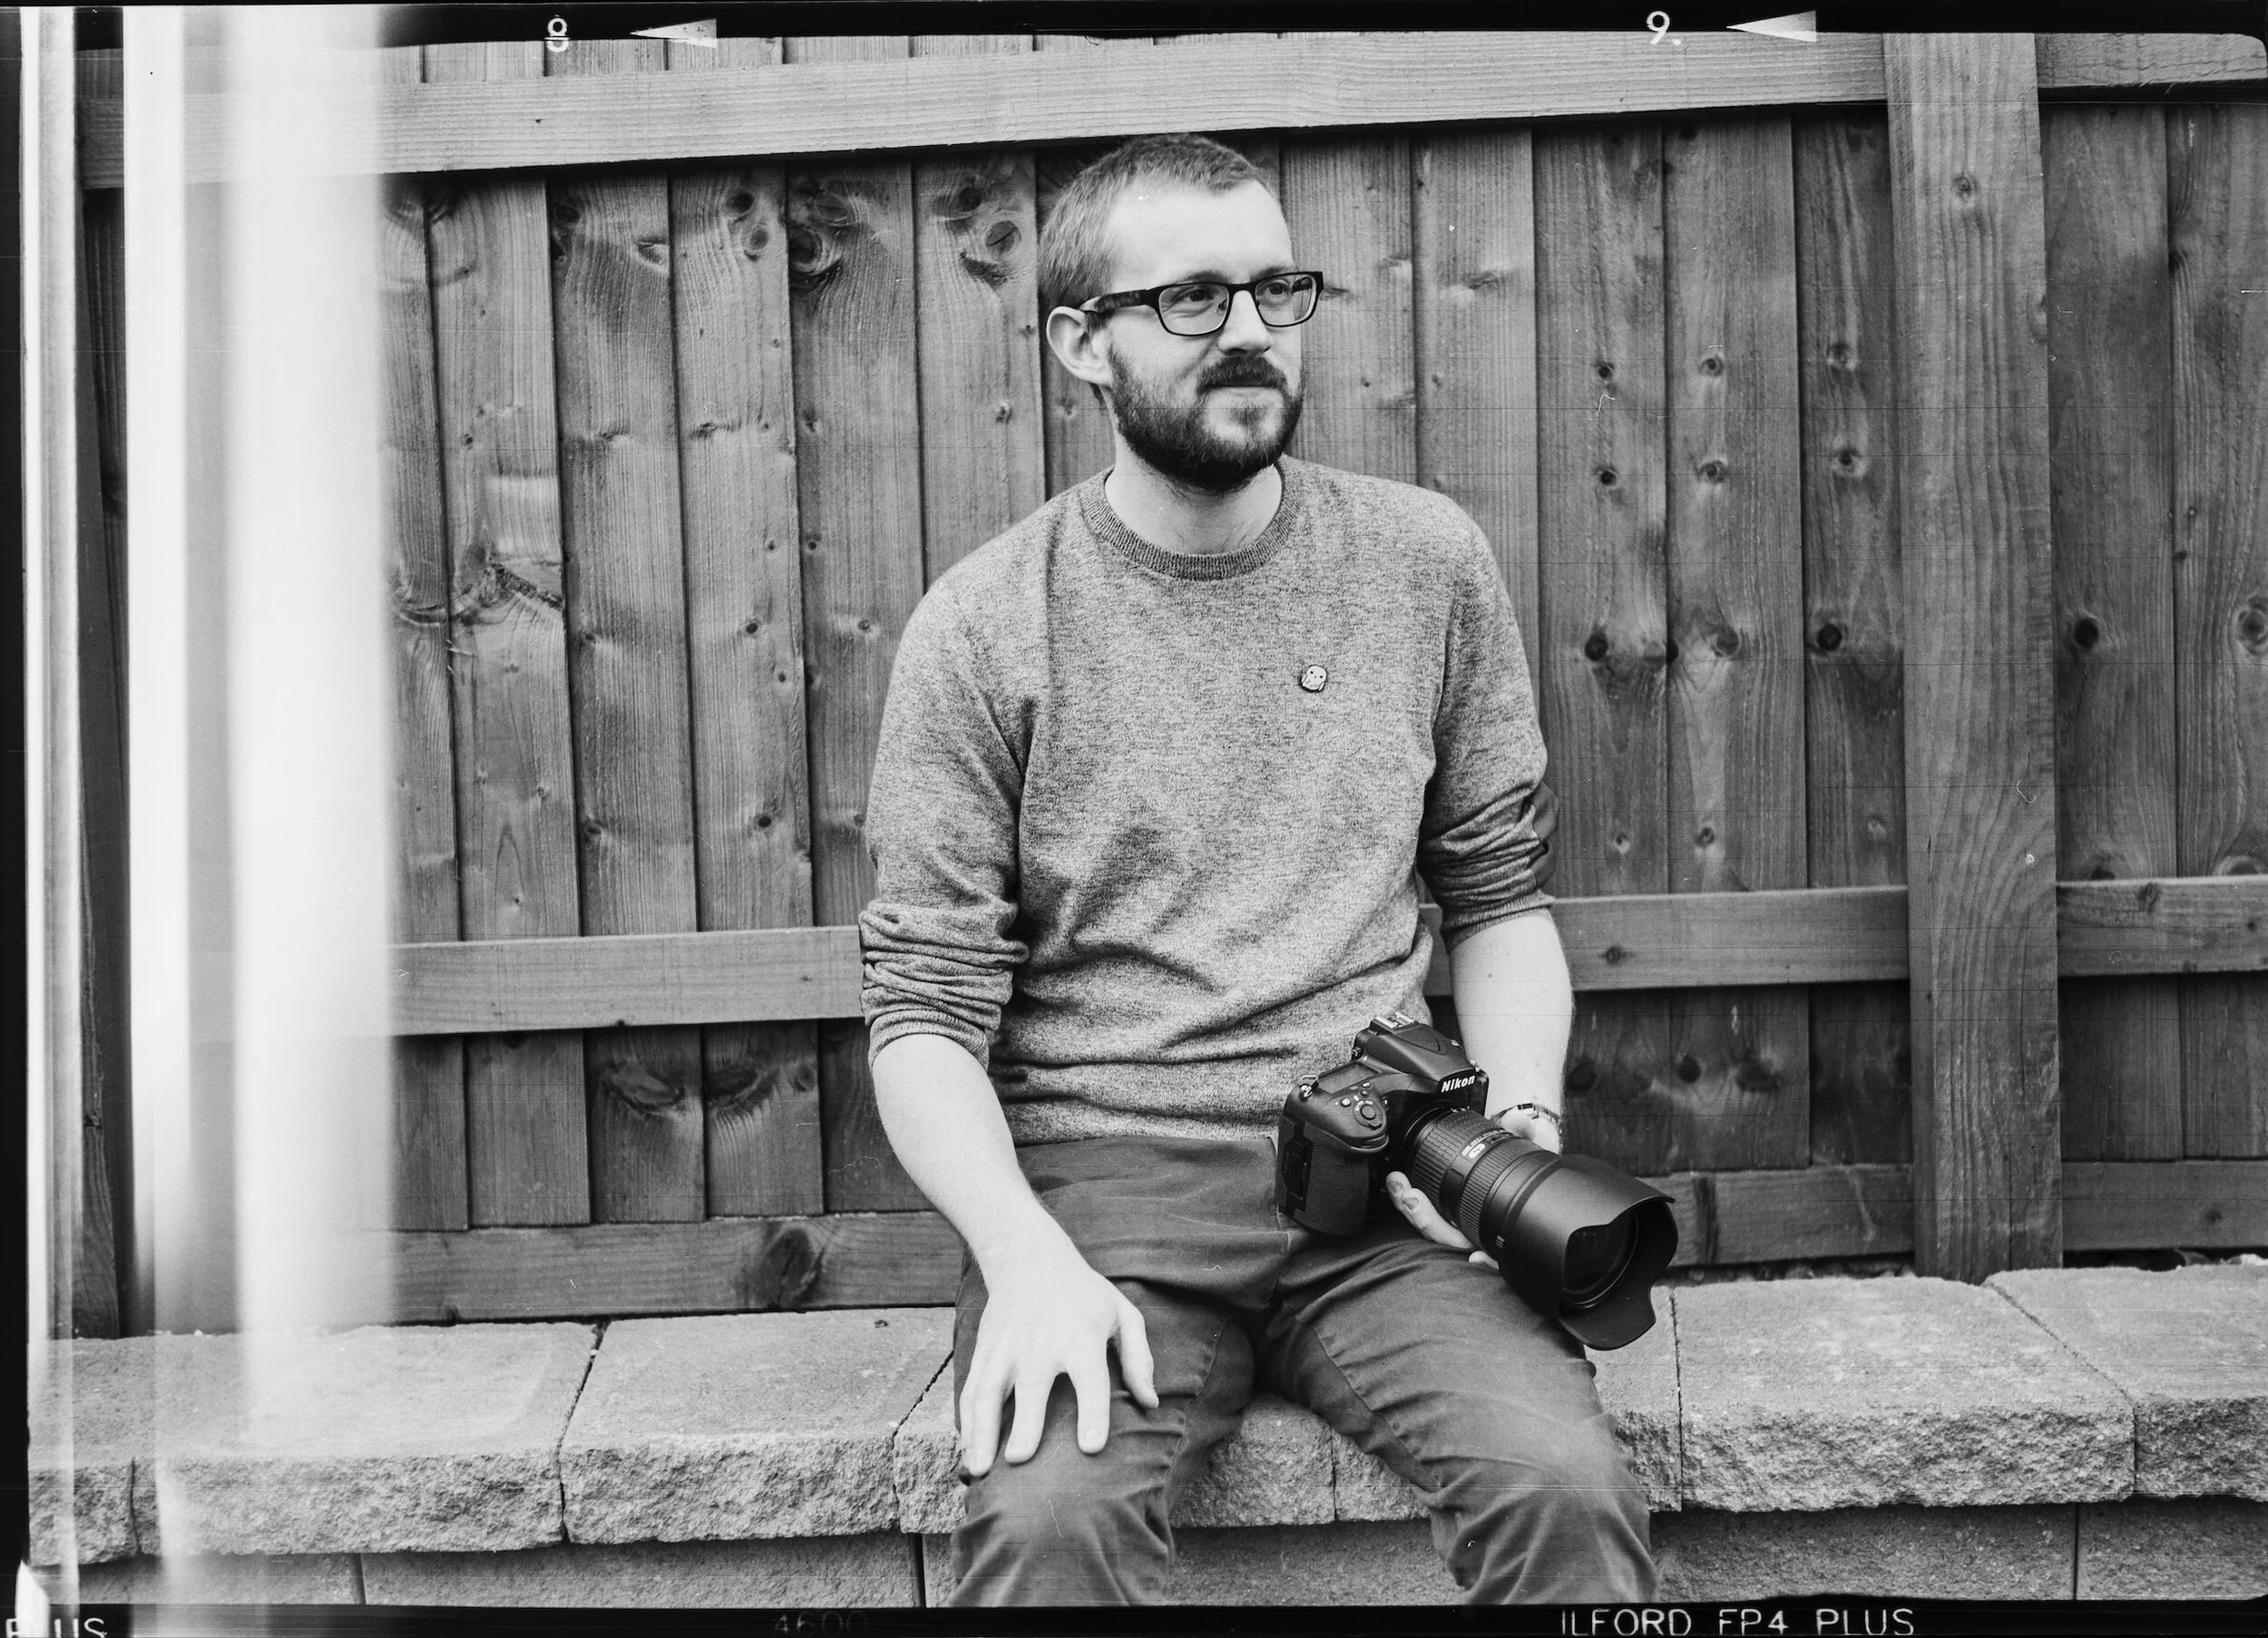
A nice contrast of new Nikon shot by vintage Kodak. Shot by Jess. I think I was sitting a tad too close to the camera here (minimum focus distance is 2m). Shot at f/6.3, 1/50s, ISO 125 film, tripod in overcast light.
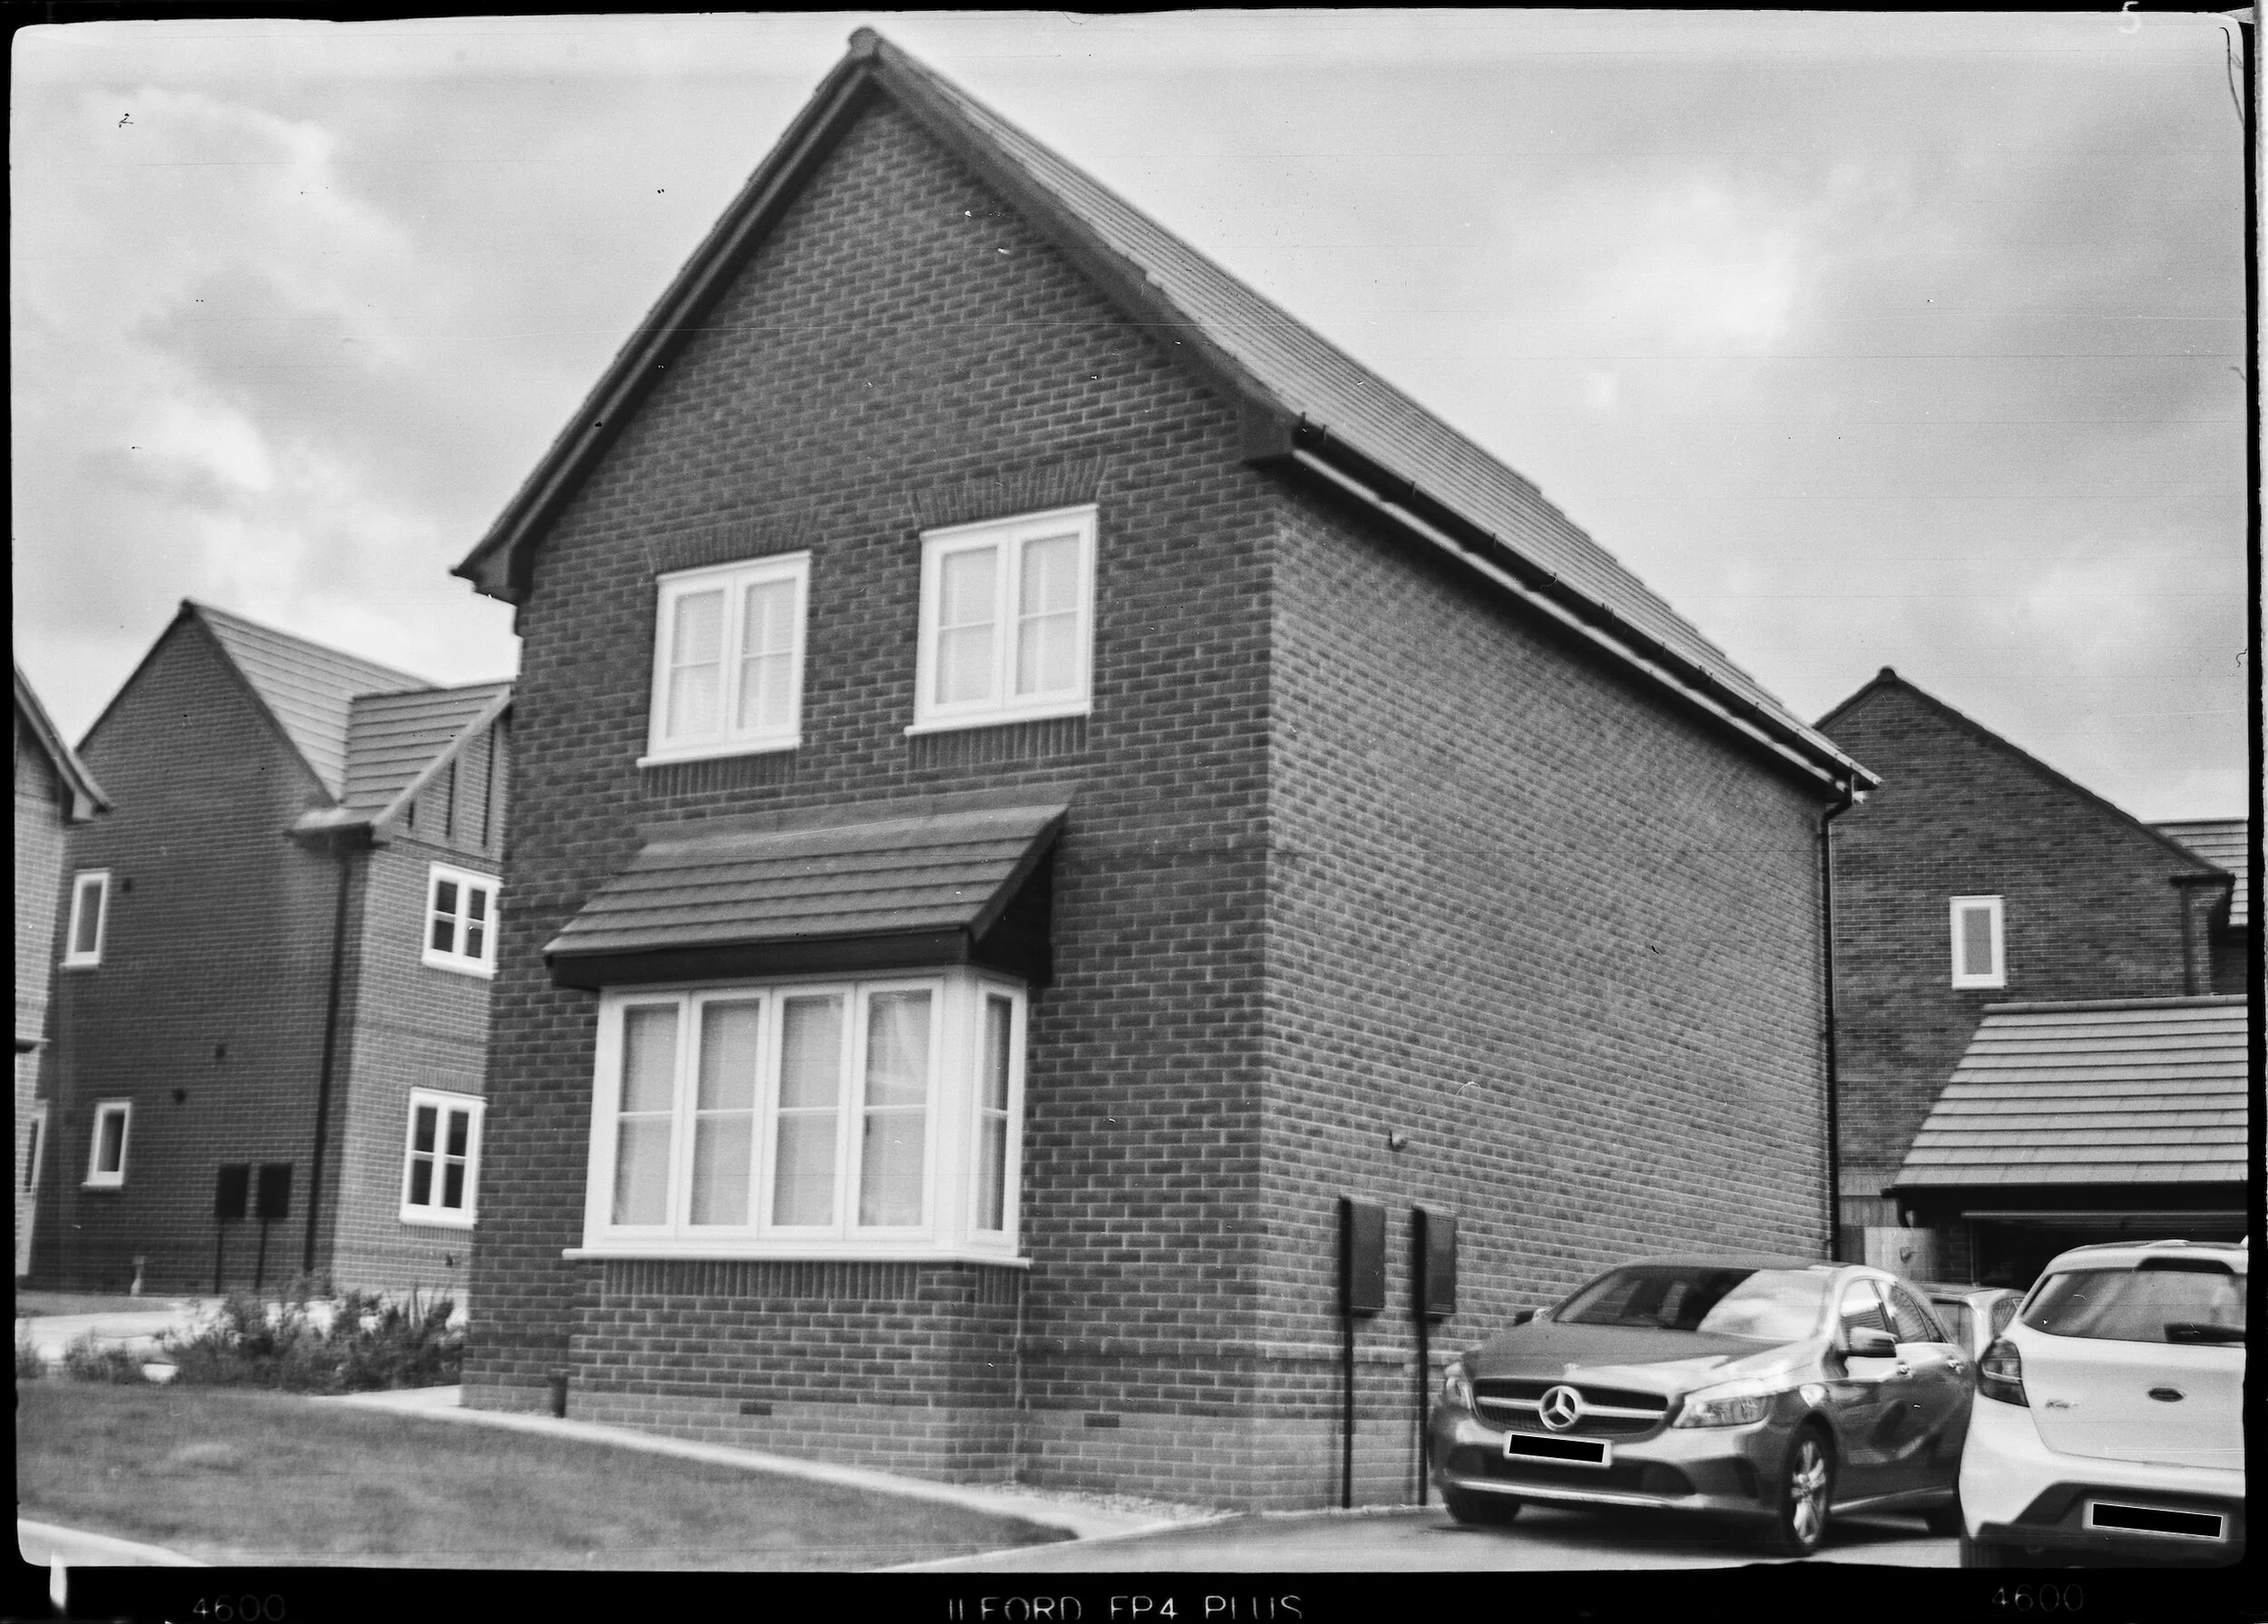
This is the very first shot taken. Bit overexposed this one, even though it came out ok on DSLR. Shot at f/11, 1/50s, ISO 125 film, handheld in direct sunlight.
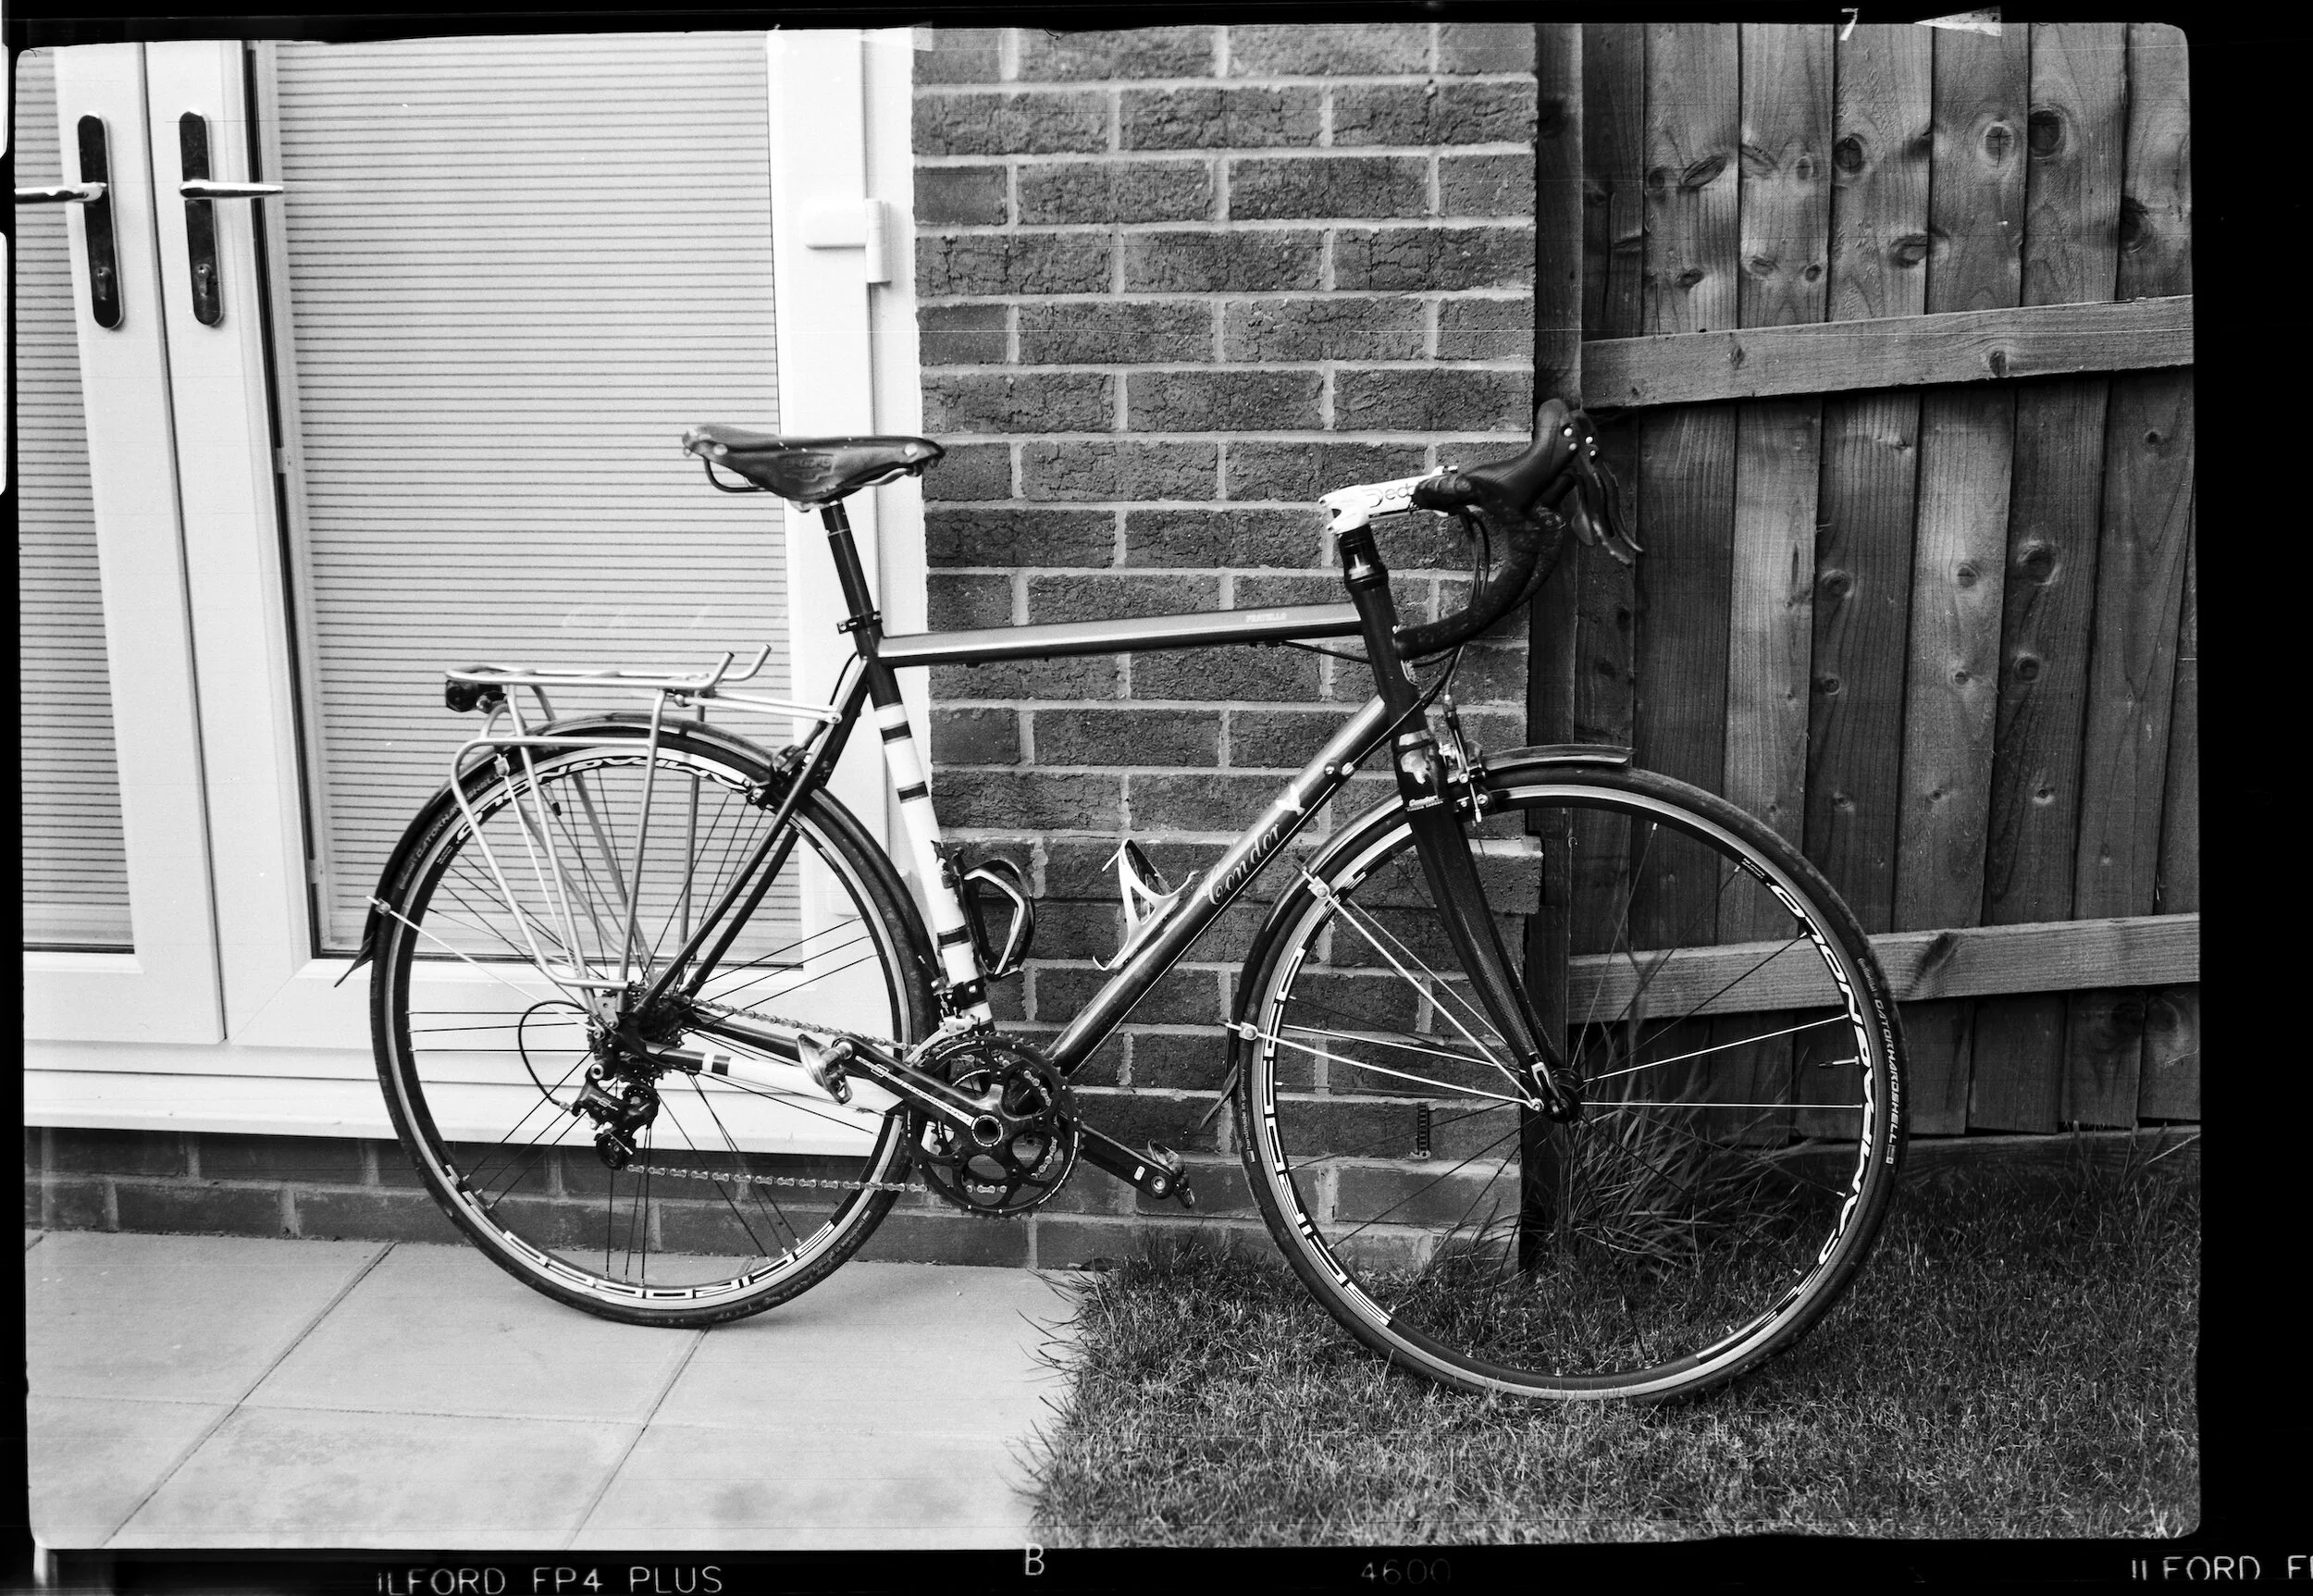
The trusty condor (named Estella (Havisham) - because I love and hate her). Shot at f/11, 1/50s, ISO 125 film, tripod in direct sunlight. Using the tripod seems to have a big impact on the sharpness.
Overall I'd say this project was a success… considering. The camera was in working order, it didn't leak light, I managed to get the film onto the developing reel in pitch darkness without damaging it, and I got it developed properly. It certainly could have been worse. I will be ordering some more film, find some more interesting subject matter and have another go. So, watch this space. It has been lots of fun foraying into this unknown (to me) World of old cameras and film.
Thanks Jess :)